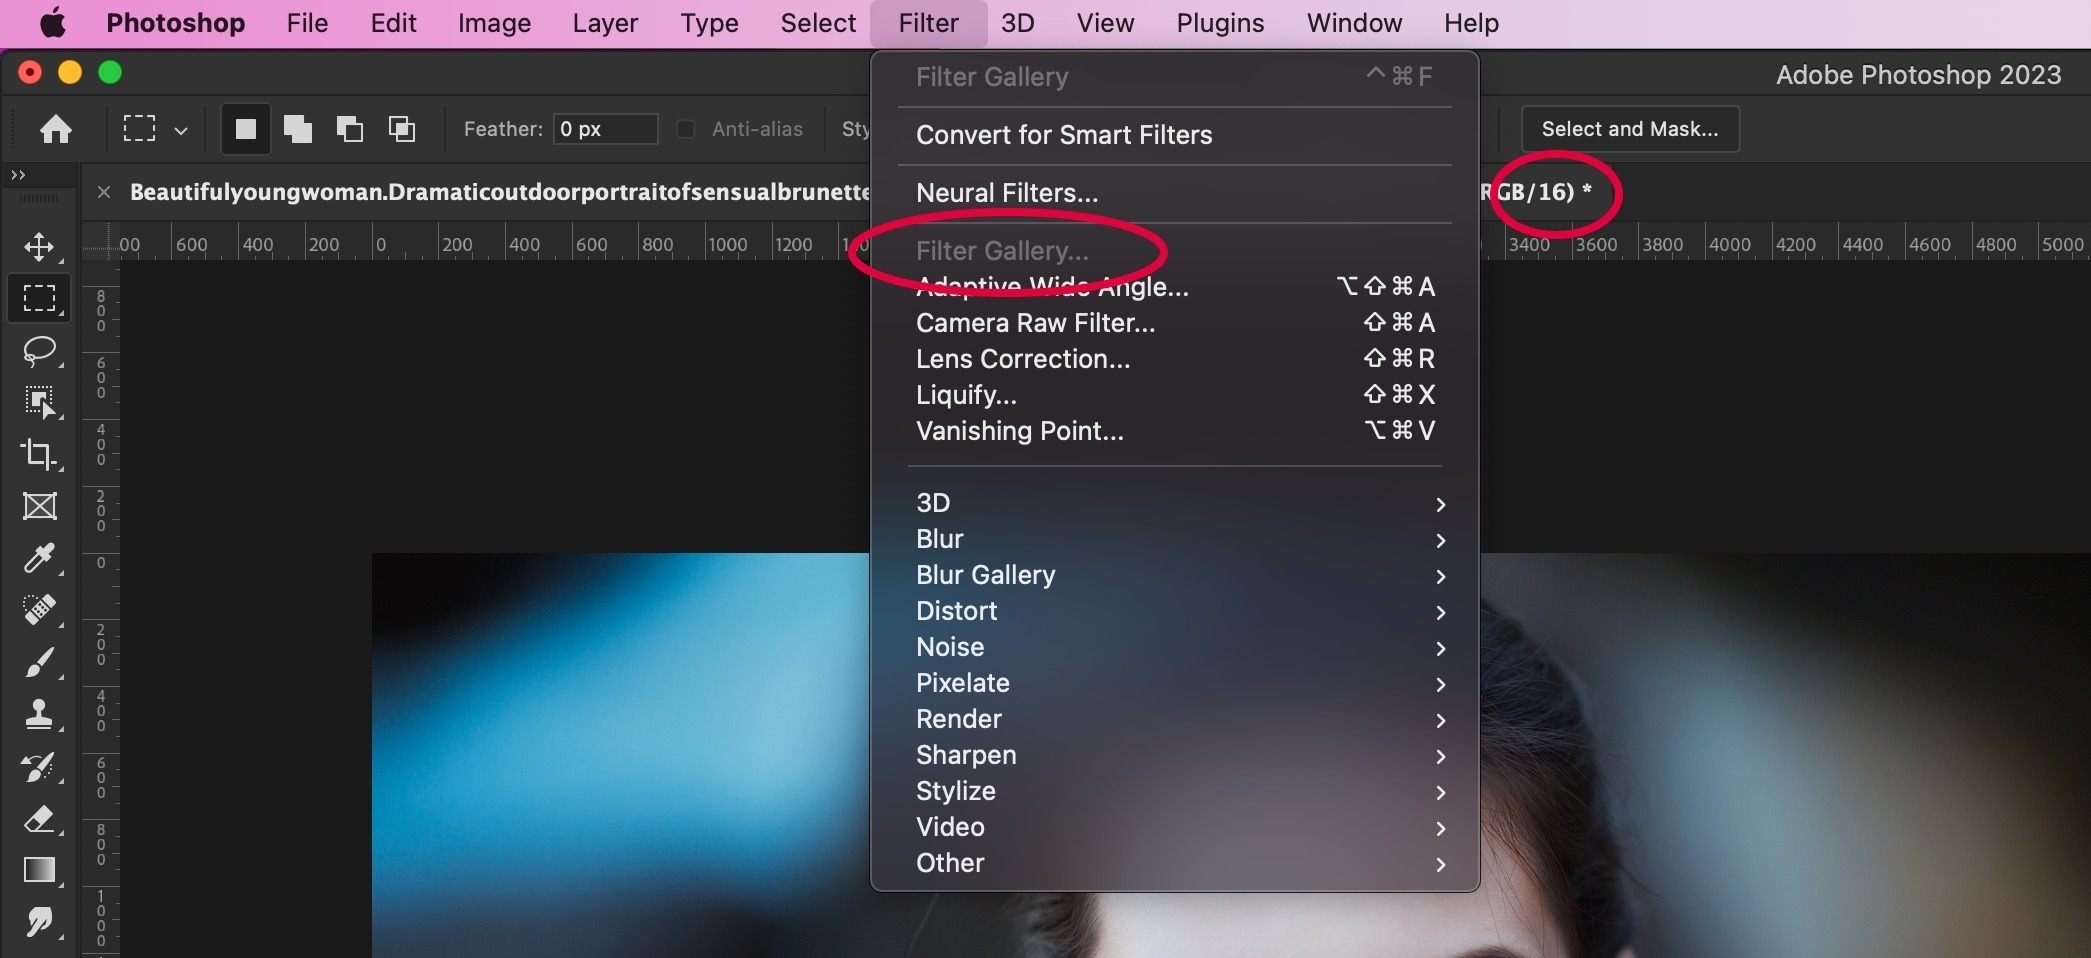
This problem is likely caused by the fact you are working on a 16 Bits/Channel image, and the Skin Texture feature uses a Filter Gallery effect that is not supported by Photoshop at this depth, as you can see from the attached screenshot:
If that's that the case, you have two options:
1. Change the image mode using the Image menu and selecting Image > Mode > 8 Bits/Channel
2. If you want to keep working at 16 Bits/Channel (as you probably do), you can try this workaround that should solve the issue:
- Create an 8 Bits/Channel file (File > New and select the 8 bit option inside the Color Mode area) and give it the same size of the one you’re working on or, if you prefer, of the area you need to cover with the skin texture.
- Click on the Skin Texture button
- Rasterize the resulting Layer (this is important as if you move the file without rasterizing it the Filter Gallery smart filter will be automatically disabled on the original 16 Bits file) leaving the mask intact.
- Move or copy the Skin Texture layer on top of the layers' stack in your image and paint on the mask with a white brush at low opacity to reveal the texture, slowly building up the effect where you need it.
Was this article helpful?
That’s Great!
Thank you for your feedback
Sorry! We couldn't be helpful
Thank you for your feedback
Feedback sent
We appreciate your effort and will try to fix the article